Match the method to the spill
- Let the oven cool and empty it. For one burnt-on patch, start with a hand-cleaning method approved for its liner.
- Use a steam-clean feature for light soil where your oven provides one. For heavier baked-on food, consider a permitted self-clean cycle.
- Before self-cleaning, remove the racks and accessories and make sure the vents are clear.
A crusty patch you can reach calls for a different approach than soil spread through the cavity. We'd hand-clean the patch first because even a self-cleaning oven can be cleaned by hand, and that avoids a high-temperature cycle. If the soil is heavier, check which cleaning features your oven has before choosing a cycle.
The choice matters because the methods do different jobs. Steam cleaning uses moisture to soften splatters during routine cleaning, while self-cleaning uses high heat to turn cooked-on food into ash. Use your oven's instructions for its available modes, controls and permitted cleaning materials.
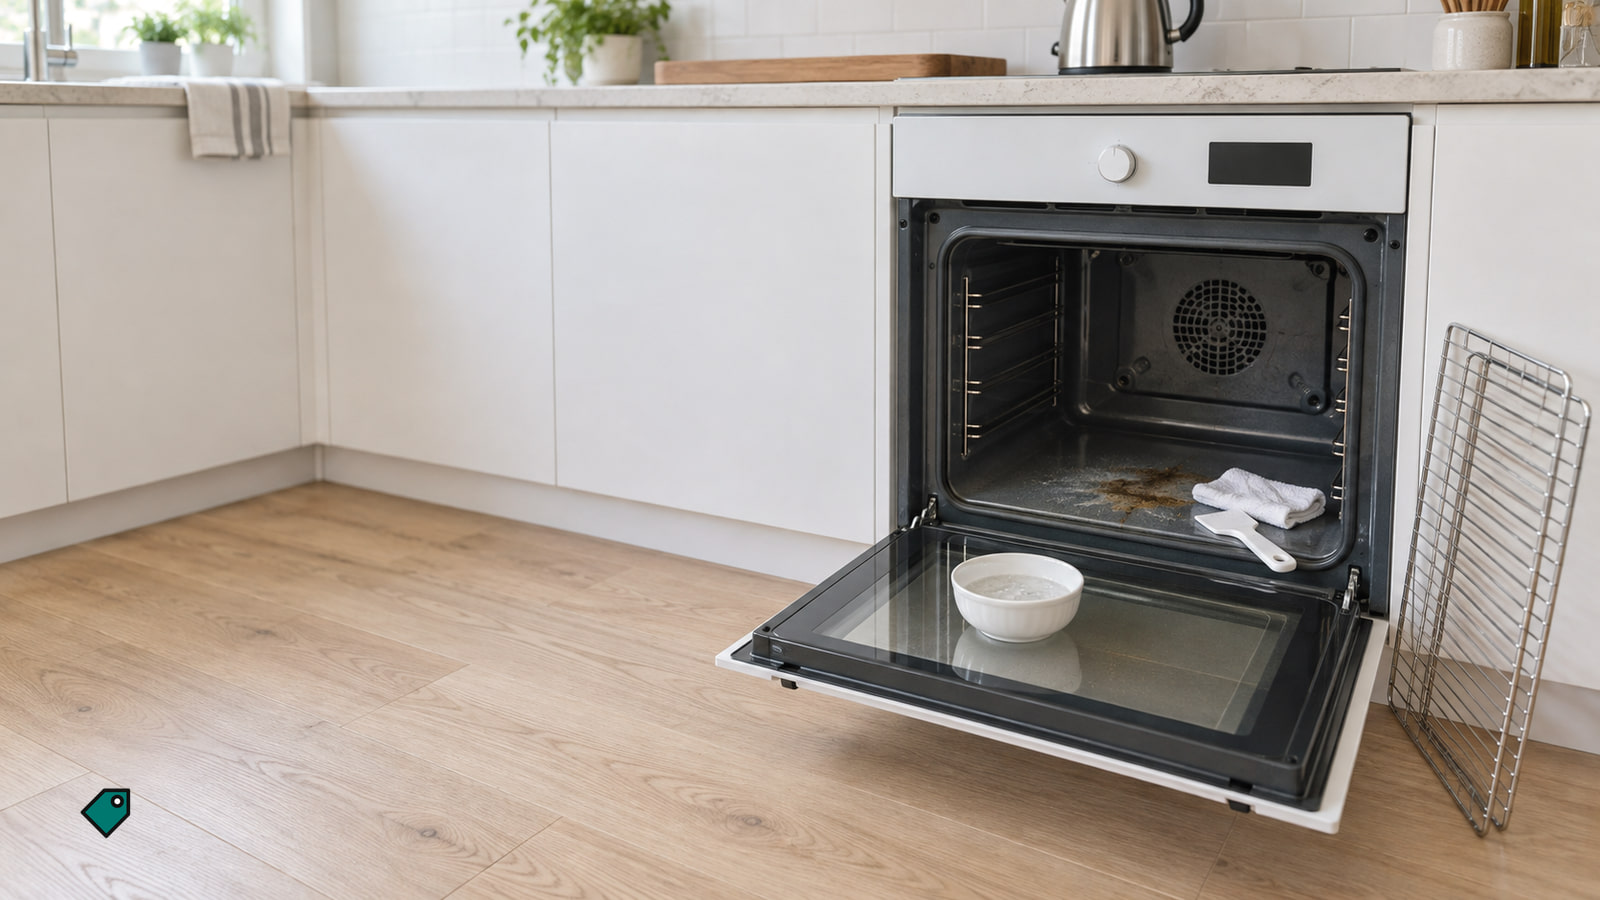
Get the cool oven ready
Wait until the oven is cool, then empty it before hand cleaning. Wipe out loose soil with a damp cloth. If you later use self-clean, removing that loose soil helps reduce smoke; keep liquid out of the door-frame slots as you wipe because it can cause damage.
Work on the floor without rubbing, cleaning or moving the door gasket. It provides the door's seal, so leave it in place even when food is close to the edge.
Lift a burnt-on patch by hand
On a KitchenAid self-clean oven, a thin baking-soda paste is a hand-cleaning option for a stubborn patch. The cleaning directions (opens in a new tab) are useful to keep beside you for the amounts and timing.
- Mix ½ cup of baking soda with 3 tablespoons of water. Spread the thin paste over the food in the cool, empty cavity until the patch is covered.
- Leave the paste for 20 minutes to overnight, depending on the amount of soil. The paste stays on the patch during that interval.
- Spray white vinegar or lemon juice onto the paste, then wipe it away with a damp cloth. For a stubborn spot, use a plastic scraper and wipe away the loosened food and paste.
Keep commercial oven cleaner off this self-clean interior. It can damage the liner and reduce the effectiveness of later self-cleaning.
After the final damp wipe, check the spot for remaining food or paste. If the patch has lifted, the hand-cleaning job is done without a heat-based cycle.
For a lighter layer of soil
On a GE self-clean oven, wipe a small amount of soil with dishwashing liquid mixed with water. Use a cloth, sponge or plastic pad. For heavy soil on that liner, use its Self-Clean feature instead of treating the light-soil wipe as a deep clean.
Rinse the liner well after the soap-and-water wipe. Soap left behind can stain or discolor it during a later Self-Clean cycle. You can check the hand-cleaning directions (opens in a new tab) before changing what touches the liner.
If you continue hand cleaning that GE liner, a steel-wool or plastic scouring pad is permitted with light rubbing to avoid scratches, but scouring powders are prohibited. Bosch oven interiors have a different limit: keep chlorine-based cleaners and abrasive cleaners or cloths off them. Follow the material rules for your oven before switching tools.
Keep commercial oven cleaner off a GE self-clean liner, including products sold for self-clean ovens. Repeated chemical-cleaner use can etch and discolor the liner and make later self-cleaning less effective.
When a steam-clean feature fits
On Electrolux ovens equipped with Steam Clean, that feature is meant for routine cleaning of light soil on the oven bottom. Moisture helps soften cooked-on splatters, so it fits a lighter cleanup between deeper cleans.
For heavier baked-on soil on those ovens, use the Self Clean feature if the appliance has it. Check your oven's instructions before selecting either cycle, since cleaning features and their operation vary by model.
Set up a permitted self-clean cycle
For an oven with Self Clean, use its own instructions to select and start the cycle. First remove every rack and accessory. Telescopic racks can be damaged and become stuck if they stay inside during self-cleaning.
On select KitchenAid ovens, also take out the broiler pan, grid, cookware, bakeware, foil and oven liners. Wipe loose soil with a damp cloth, then hand-clean the inside door edge and the area around the cavity frame without moving or bending the gasket. Keep water and cleaner out of the door-frame slots to prevent damage.
On those ranges, clear plastic items from the cooktop so they cannot melt, and remove items from the storage drawer before the cycle heats those areas. Make sure the vents are unblocked so hot air can escape, then close the door completely so it can lock. Heavy soil can make the cycle longer and smokier, which is another reason to wipe out loose buildup first.
On select KitchenAid ovens with the described controls, press Clean, choose the cleaning setting or cycle time, then press Start. The door stays locked until the oven cools, and the stated cycle time includes a 30-minute cooldown. Wait for End to appear and Locked to disappear before opening it.
If the door remains shut after cooling, check how to unlock the oven door before trying to reach the floor.
While the hot cycle runs
Stay home and attentive while self-clean runs. Its high heat can produce smoke or fumes, so use the range hood to ventilate the kitchen and keep the oven vents unobstructed.
If you have pets, keep them in another room while the cycle runs and maintain ventilation in the kitchen. That keeps them apart from the odors of self-cleaning.
Wipe the floor after it cools
Let the oven cool when the cycle ends, then look at the floor. Cooked-on food should have become powdery ash; wipe the excess ash out of the cooled cavity.
For the next small spill, hand cleaning remains an option even on an oven with Self Clean. Removing soil before it builds up also avoids the longer, smokier self-clean cycle that heavy soil can cause.
More in this category