Your brand determines the next step
- Look for a red button on the disposer. Whirlpool lists the bottom or side; GE lists the bottom or lower back side.
- Use your brand's power-off sequence before pressing it. Whirlpool requires complete power isolation; GE includes a cooling wait.
- Finish with the applicable running check. If the reset leaves you with a nonworking disposer, use the service guidance below.
When the motor has stopped, it's tempting to press the first button you find. We'd match the brand and follow its complete reset sequence first, because the preparation differs: Whirlpool includes power isolation and visible-object precautions, while GE gives the overload control time to cool.
Choose the Whirlpool or GE procedure below as a complete sequence. The useful distinction isn't just where you put your finger: it's what must happen before the press and how you judge the result afterward. Whirlpool describes resetting as a possible fix for a disposer that has stopped working, with further troubleshooting needed in some cases.
What a popped-out button tells you
GE describes a manual reset overload protector: when the disposer gets jammed and the motor overloads, the red button pops out and shuts the disposer off. A protruding button therefore gives you a visible sign of that protective shutdown, alongside the fact that the disposer has stopped.
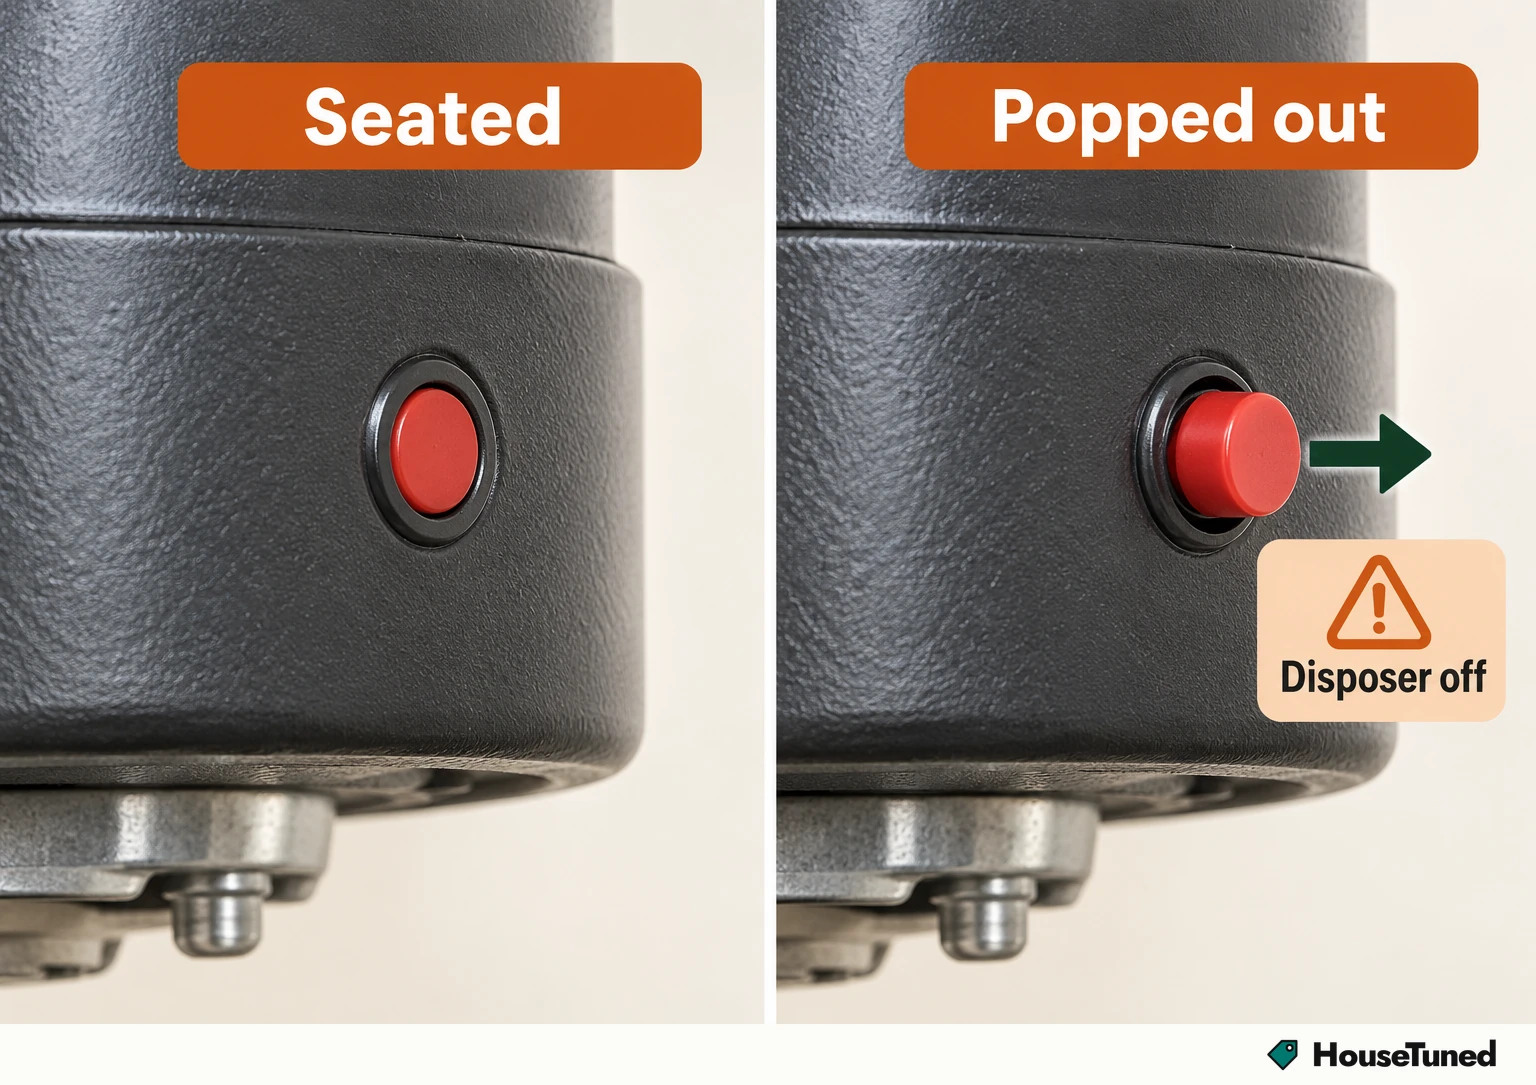
That explains why a stopped motor can lead you to the reset control. It also explains the cooling stage in GE's procedure: the motor overload control needs time to cool before you press it. The wait belongs before the reset action, even when you've already found the button and are ready to push it.
Pressing reset doesn't establish that an internal jam is cleared; the useful next result is whether the disposer operates successfully. Keep that distinction in mind as you work: Whirlpool supplies a running test, and both brands give you a route to help when resetting doesn't resolve the difficulty.
Whirlpool preparation protects you before the press
Begin with the control that applies to your Whirlpool disposer. For a continuous-feed unit, turn the wall switch off. For a batch-feed unit, remove the stopper. These are the feed-type distinctions in Whirlpool's reset procedure (opens in a new tab), and its pre-reset safety instructions also require completely disconnecting power.
Unplug the disposer under the sink or switch off its dedicated circuit breaker before continuing. Although Whirlpool's numbered reset sequence lists switching off the control or breaker, its safety precaution calls for complete power isolation. Follow that stronger precaution while preparing the unit, before working around the disposal opening.
Remove standing water from the sink, then pull any visible objects out of the disposal opening with those tools. These are preparations for the reset, so finish them before moving to the button. If you've been wondering whether to press reset with water and visible objects still present, Whirlpool puts their removal first.
Whirlpool's reset ends with a running check
With the Whirlpool preparations complete and power still disconnected, use your finger to gently push the red reset button. Your finger is the tool specified for this step. Follow the press with the power-restoration and running check in Whirlpool's reset instructions (opens in a new tab), keeping that order.
Restore power to the disposer after pressing the button. Next, turn on cold water and switch on the disposer. This separates restoring the electrical supply from starting the motor for the test: the cold water should already be running when you switch the disposer on to check its operation.
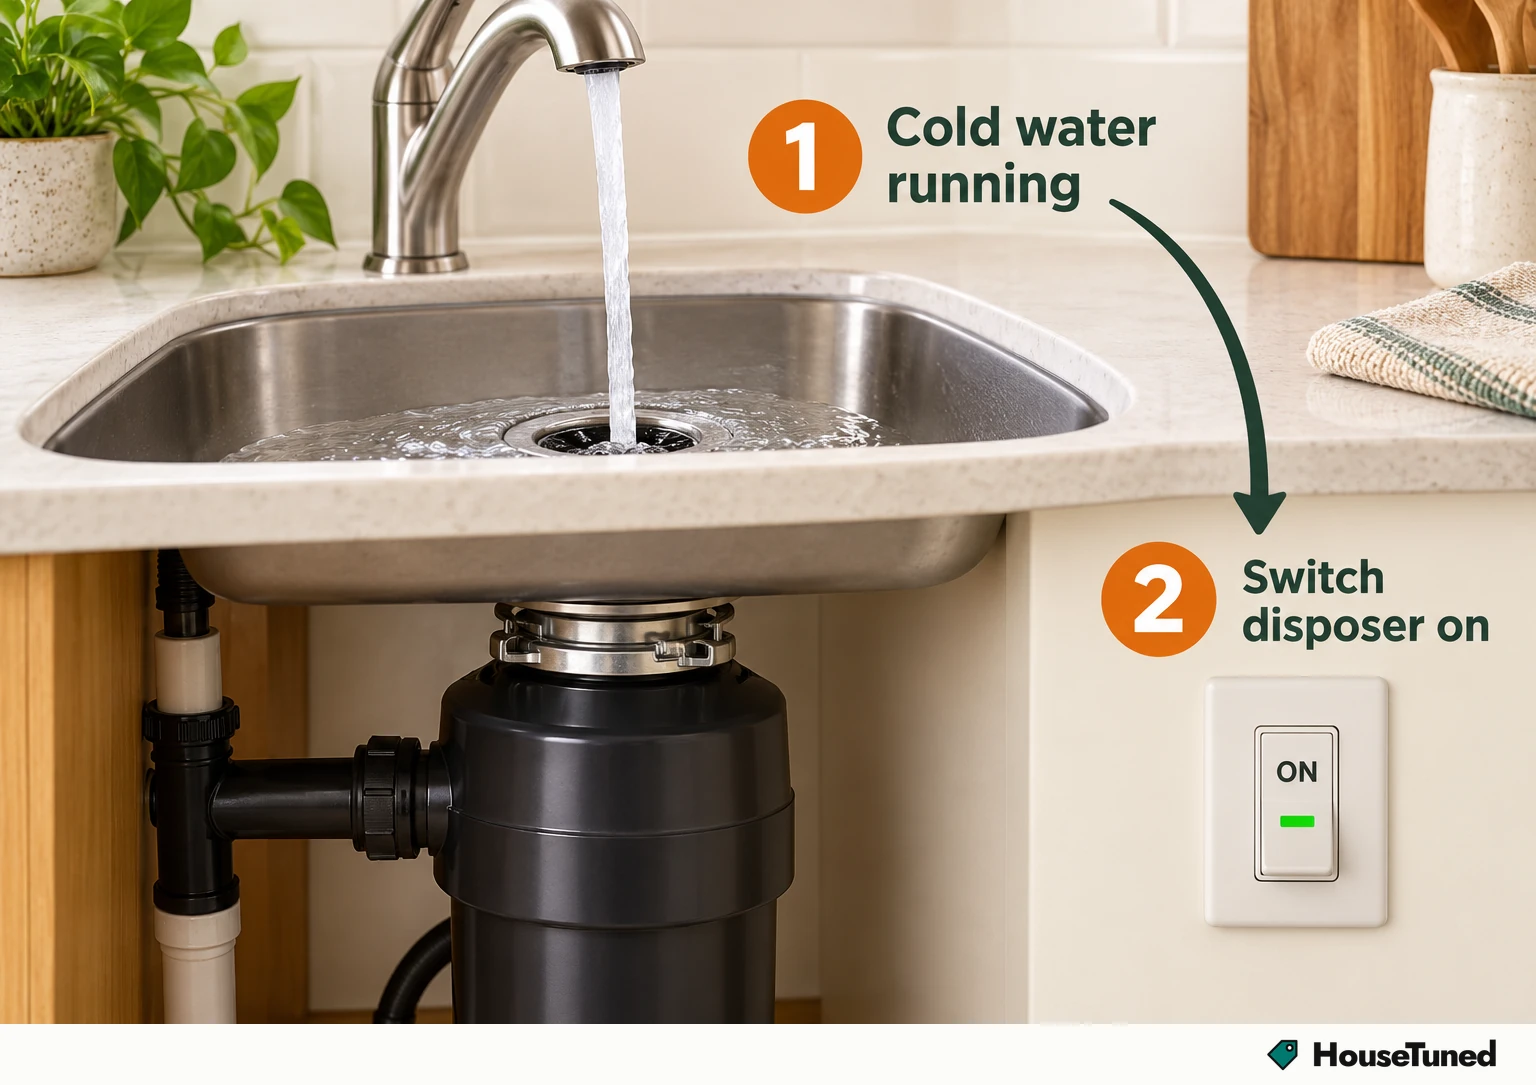
Listen for a motor that runs smoothly without unusual noises. That's Whirlpool's stated sign of a successful reset, so your check includes the quality of the running sound as well as whether the motor starts. If it remains inoperative, the reset hasn't reached that successful outcome and further attention is needed.
GE's reset includes a cooling wait
Use the following order for GE's overload reset. Its cooling and reset procedure (opens in a new tab) includes a pause for the motor overload control, so finding the red button isn't the cue to press immediately. Let the cooling step come between switching off and pushing the button.
- Turn the wall switch to OFF. Check that the switch is in the off position before continuing.
- Wait two to five minutes for the motor overload control to cool down. Let that interval pass before moving to the button.
- Depress the red reset button you located on the disposer, pushing it inward.
That two-to-five-minute interval is GE's cooling instruction for this procedure. It belongs to the overload control, so keep it with the GE sequence when deciding how long to wait. After resetting, the important outcome for GE's service decision is whether the disposer can start.
When resetting hasn't solved it
If you're unsure about carrying out the Whirlpool reset or encounter difficulties, consult a Whirlpool Certified Technician. That help applies to uncertainty during the procedure as well as trouble afterward. Use Whirlpool's reset support page (opens in a new tab) for its technician guidance instead of pushing ahead with a step you're uncomfortable performing.
For a GE disposer that remains unable to start after resetting, seek service. GE names Bodewell for repair appointments. Open GE's disposer reset and service page (opens in a new tab) and follow its repair-appointment option to arrange help with the disposer that still won't start.
More in this category