What owners can safely handle on central air
- Look at the filter every month and change it when it's dirty.
- Keep the vents, the indoor unit area and the space around the outdoor unit clear.
- Rinse a dirty outdoor coil only with gentle hose water, with the power off, and never with a pressure washer.
- Book a pro once a year in spring, and leave refrigerant, wiring and deep coil cleaning to them.
- Smell burning? Turn the system off right away and call a technician.
Most of the maintenance you can do yourself on central air comes down to keeping air moving, and the only real cost is new filters and a bit of effort. We'd start with the filter, because manufacturers call it the single most important task and you'll check it more often than anything else on the list.
This routine is for a central system, meaning an outdoor unit paired with an indoor furnace or air handler. Keep your owner's manual handy too, since following its guidelines is part of keeping the system running well for longer.
Most maintenance still belongs to a licensed HVAC pro. American Standard says DIY work on critical parts may void your warranty if the system is still covered, and many manufacturers require licensed maintenance to keep a warranty valid.
The filter comes first, every month
A clogged filter makes the whole system work harder. That can mean higher energy bills, early repairs and even a breakdown.
Advice on timing varies a little. ENERGY STAR says to inspect, clean or change it once a month. Trane suggests a monthly look with a change every one to three months, and Carrier suggests inspecting it every two to three months.
We'd go with the monthly look, because it lets the filter tell you when it's done. If it's dirty, change it, and if it isn't, check again next month. Filter type (1-inch vs 4-inch), pets and indoor pollutants like smoke and cooking all change the interval, and thicker, higher-quality filters may not need changing as often.
In a home with allergy or asthma sufferers, plan on changing 1-inch filters every 30 days and 4-inch filters every 60 to 90 days.
- Find the filter. It's usually next to the air handler or furnace, but it can also sit behind a return air vent on a ceiling or floor in a central part of the house.
- Turn the system off completely before you pull the old filter, so dirty air isn't circulating while the slot is empty.
- Unhook the latch on the cover or filter slot, and wipe any dust off the outside with a damp cloth.
- Slide the old filter out and slide the new one in with its airflow arrows pointing the correct direction.
- Secure the cover back on so it's latched closed.
Got one system upstairs and another downstairs? Each has its own filter to change. Your thermostat may show a reminder when it's time, and a recurring event in your phone calendar works if it doesn't.
Keep air moving inside the house
Supply registers and return vents need open space in front of them, because a blocked vent restricts airflow and makes the system work harder. Move furniture and rugs off them, and tie back long drapes.
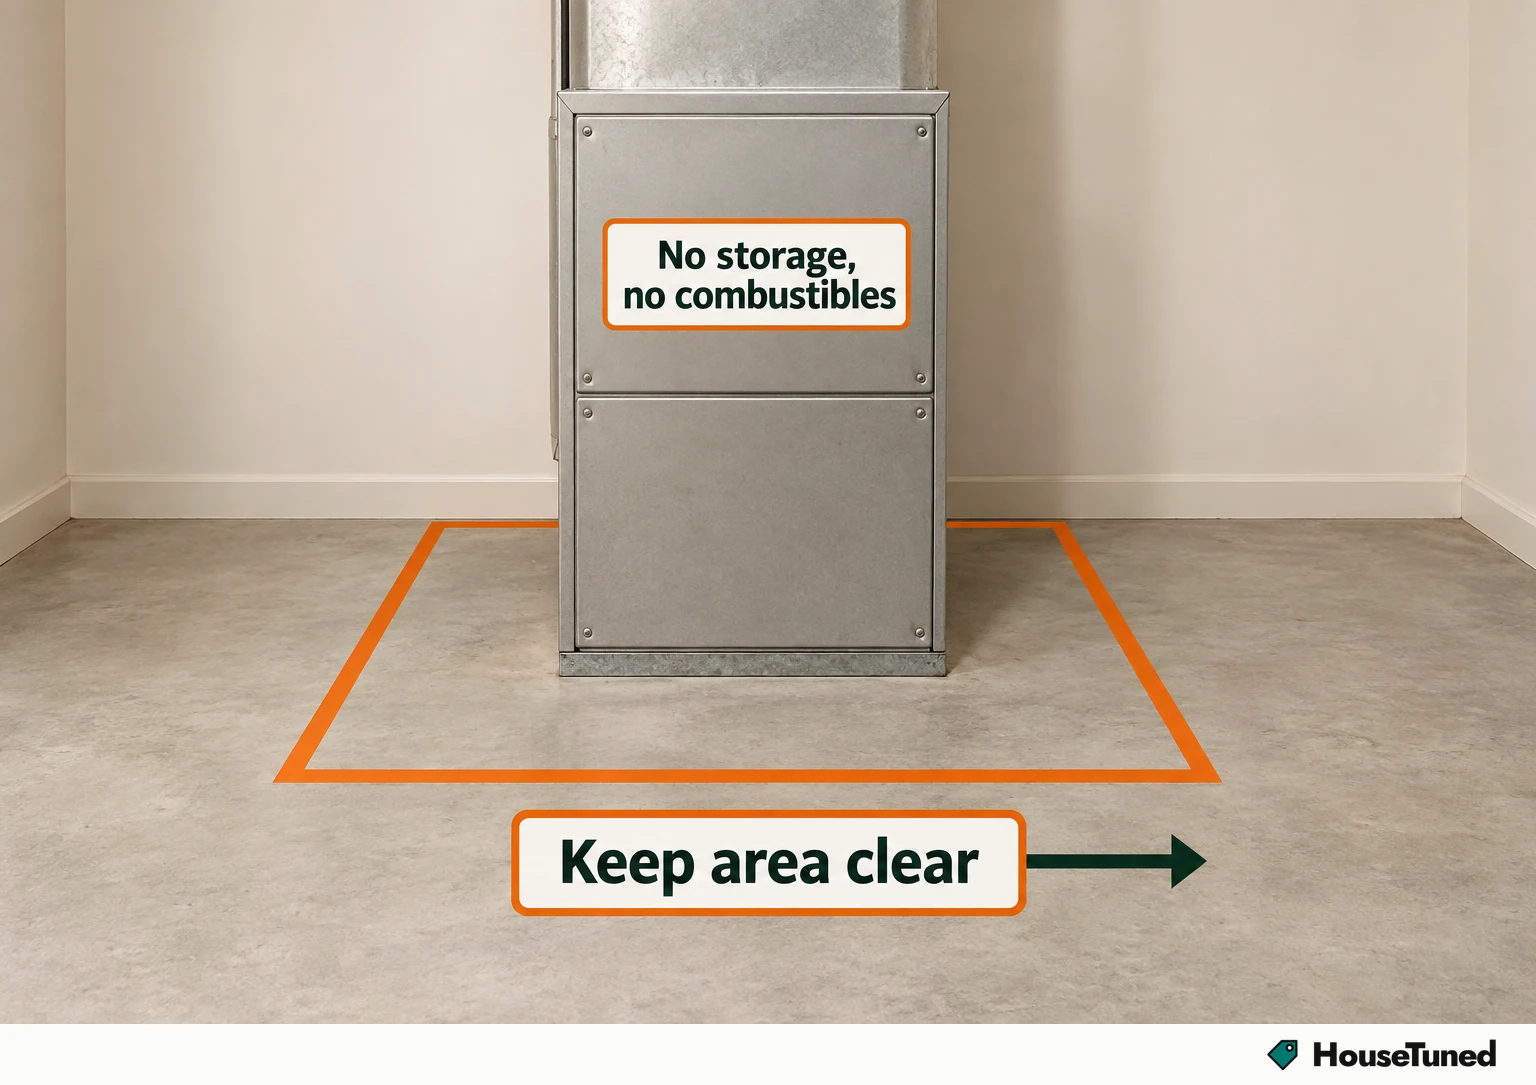
Give the indoor unit, whether that's a furnace or an air handler, the same room. Don't use the space around it for storage, and if it's a gas furnace, keep anything combustible away from it.
Give the outdoor unit room to breathe
A fan in the outdoor unit pulls air through the condenser coil, so leaves, grass and plants crowding it choke off that airflow.
The recommended gap varies a little by brand. Carrier suggests trimming shrubs and flowers back to leave 2 to 3 feet of clearance, while Trane's rule of thumb is at least 2 feet on all sides and 4 feet above. That overhead space is why you shouldn't build a deck over the unit.
- Pull out leaves that pile up at the base by hand.
- Clear pollen, twigs and other debris off the top.
- Cut back tall grass, weeds and vines inside that clearance zone.
- Aim a mulching or side-discharge mower so the grass blows away from the unit.
- Clear snow in winter to help prevent rust.
- Keep male dogs away. Dog urine is highly corrosive and can damage the aluminum fins and copper coils.
Rinsing a dirty coil without bending the fins
If the coil still looks dirty once the area's clear, you can give the outside a gentle rinse. That's as far as owner cleaning goes, because coil-cleaning chemicals and deep coil cleaning are work for a pro.
- Disconnect power to the system before you pick up the hose.
- Set the garden hose nozzle to a gentle spray, not jet.
- Rinse the fins from the top down until the loose dirt washes off.
- Look over the fins when you're done, and report any visible damage to a professional.
Damage matters because bent fins can trap heat inside the unit and cause performance and temperature problems, which is why it goes to a technician.
Your seasonal routine on one card
- Every month: look at the filter and change it if it's dirty.
- Year-round: keep registers, return vents and the indoor unit area clear.
- Year-round: keep plants and debris away from the outdoor unit.
- When the coil looks dirty: power off, then rinse gently with a garden hose.
- Each spring before cooling season: professional maintenance.
- Whenever the system starts: listen for strange noises and notice any unusual smells.
For the professional side, ENERGY STAR's check-up list (opens in a new tab) shows what a typical visit should include.
Keeping debris away, changing filters and getting yearly service can help the system last longer before it needs replacing and cut down on emergency service calls.
Signs it's time to stop and call
Some problems are past what an owner check can fix. Call a certified technician if you notice any of these:
- The system isn't cooling well or won't turn on.
- It runs constantly for long stretches, or cycles on and off frequently.
- Frost or ice shows on the copper refrigerant tubing or the outdoor coil.
- Puddles are forming around the indoor unit.
- You hear strange noises or notice unusual smells when it starts.
- Energy bills keep climbing while your usage stays the same, or the house has hot and cold spots.
If your system has taken on a lot of water, such as from a flood, leave it alone and call a technician. Water can seriously damage the electrical systems, and electrical problems are potentially life-threatening.
Checking refrigerant levels, inspecting electrical components and deep cleaning coils are jobs for a licensed professional, both for your safety and to avoid damaging the system.
Booking the yearly spring visit
Once a year should be fine, ideally in spring before cooling season begins, so any problems get found and fixed before you run the system for the first time in months.
We'd book early, since contractors get busy once summer arrives. Depending on where you live, that window runs from late February to early May, and planning it around the spring time change makes it easy to remember.
Before you book, ask to see the company's maintenance checklist so you know what's included and what isn't. Some companies charge extra for certain tasks, and coil cleaning may carry an additional charge.
A typical tune-up covers changing filters, tightening electrical connections, checking refrigerant levels and looking for leaks, cleaning coils, clearing condensate drains and testing safety controls. A full visit usually lasts 1 to 2 hours.
For refrigerant work, choose a dealer whose technicians are EPA-certified to handle refrigerants, often called Section 608 certification. EPA's advice for homeowners (opens in a new tab) covers repairs and refrigerant.
Prices vary with where you live and what the visit includes, and manufacturer guides put a visit anywhere from about $65 to $350. Repairs aren't part of the maintenance charge, and a visit priced below $70 may not cover much.
Professional maintenance helps you avoid expensive emergency repairs and helps the unit last longer.
Have these ready so the right visit gets booked.
Tick what applies and add details; the note above fills in as you go.
More in this category