Before you buy a bulb
- Find your model number and check its light instructions before buying a bulb.
- For a removable screw-in bulb, disconnect power, let the light cool, fit the specified appliance bulb, replace the cover and test it.
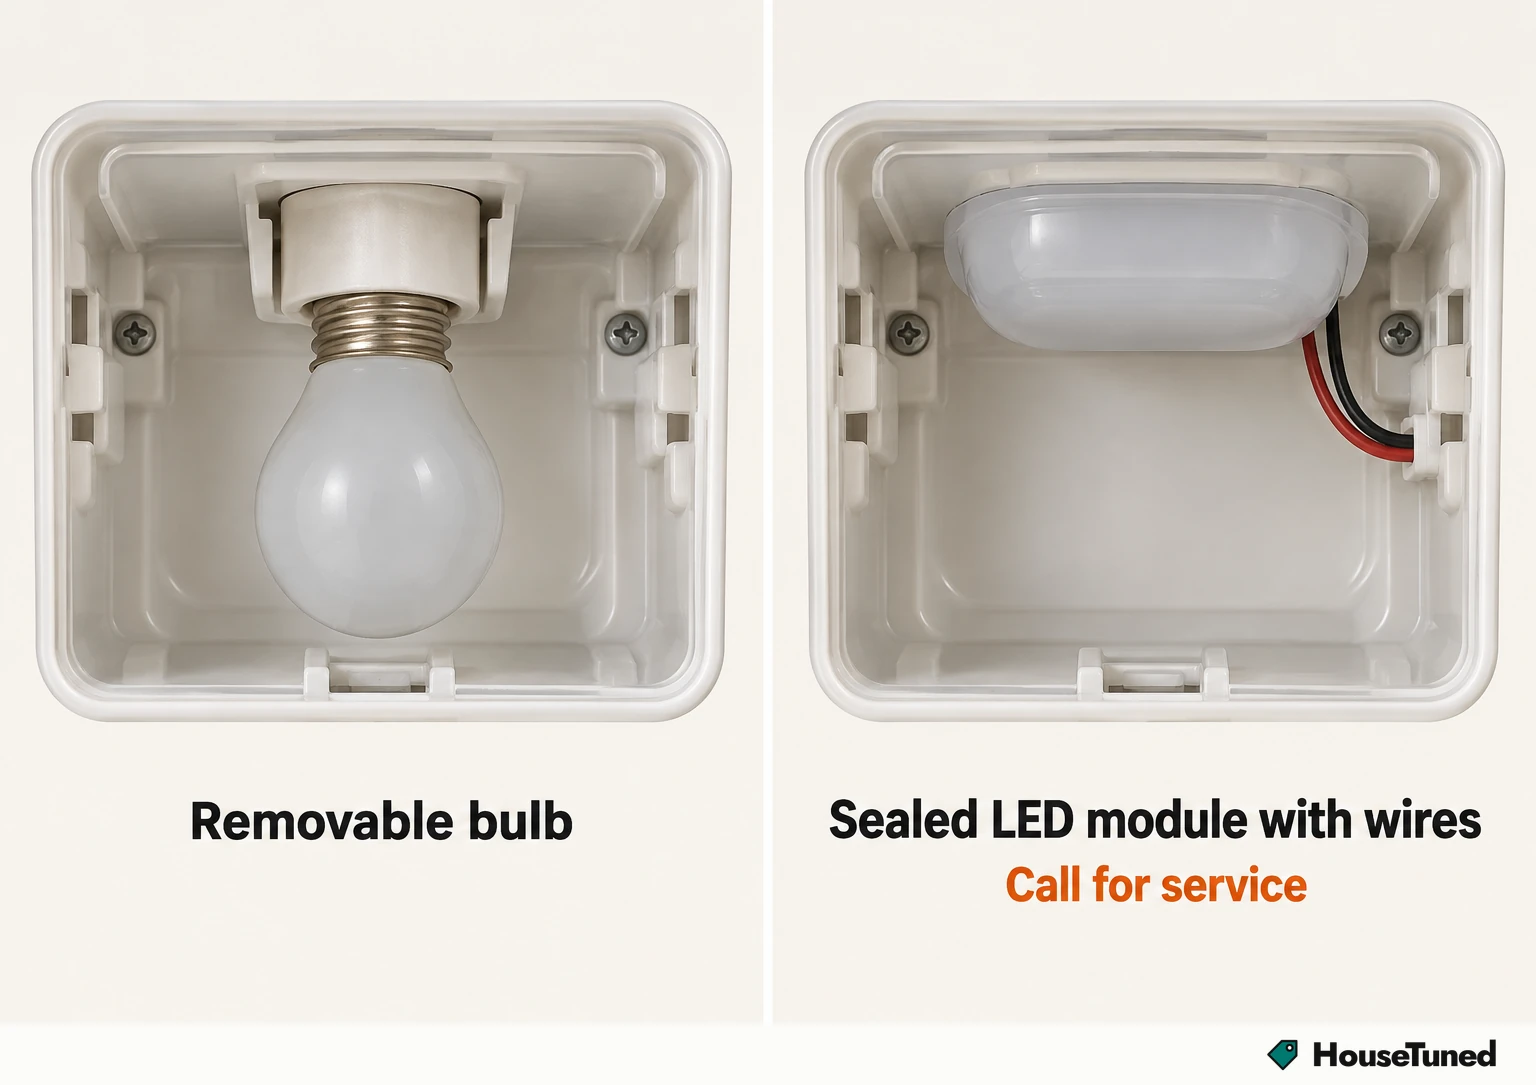
- A sealed LED module with wires needs service.
A dark compartment can leave you looking at a cover without knowing what kind of light is behind it. We’d identify the model first, because Whirlpool refrigerators can have a removable bulb or LED lighting that you can’t change, and the model determines the bulb and cover instructions. Once you know it has a removable bulb, you can get the right replacement before opening the cover.
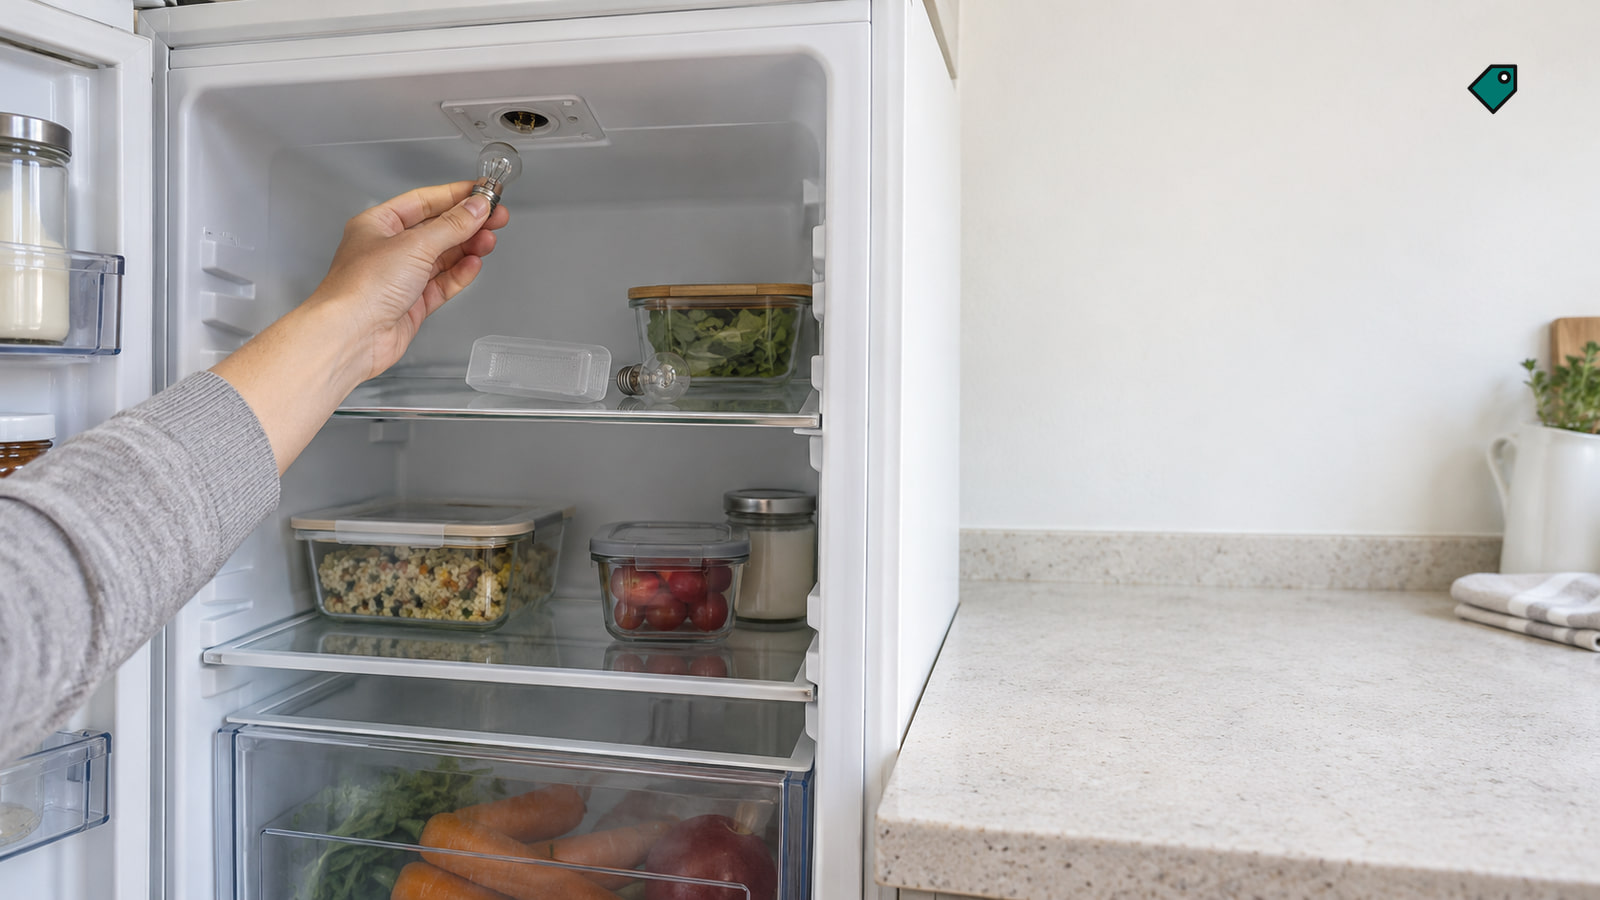
The light may be near the top or side of the fresh-food compartment. In the freezer, check the ceiling and rear wall. Its location helps you find the cover, but your model’s instructions determine how it opens.
Find the instructions for your model
Look for the model and serial numbers on the inside wall of the refrigerator compartment. Use the model number to find the matching owner’s manual, then check whether its light is a removable bulb and what replacement it specifies. Whirlpool models can call for different appliance bulbs and part numbers.
Keep those instructions handy when you reach the cover. Some Whirlpool lights sit behind a clear lens with release tabs or small screws; another documented shield squeezes at the sides and pulls straight down. The general bulb instructions (opens in a new tab) show the screw-in sequence, while your model’s instructions tell you which cover movement applies.
Choose the bulb and wattage that fit
Match the replacement’s size, shape, base and wattage to the instructions for your refrigerator. Choose an appliance bulb made for refrigerator conditions: an ordinary household bulb may fit the socket without being suitable for the cold inside it.
There’s no single Whirlpool wattage to use across models. Some require a 40 W bulb. For refrigerators covered by these owner instructions (opens in a new tab), the refrigerator-compartment LED replacement is part W10565137, rated 3.6 W. If you replace that LED bulb with an incandescent one under those instructions, use only a household-appliance incandescent bulb of no more than 60 W. Check that those instructions apply to your model before using either the part number or the substitution limit.
The old bulb’s appearance can help you compare size and shape, but use the model’s stated specifications to choose the replacement. This matters especially when you’re considering a bulb with the same screw base but a different wattage.
Check whether the LED can be changed
A replaceable LED bulb still needs the right conditions printed on its packaging. Whirlpool treats both the fresh-food and freezer compartments as damp environments, and some replacement LEDs aren’t recommended for damp use. Read and follow the LED package instructions before installing one.
The refrigerators covered by the linked owner instructions have a specified removable LED replacement bulb, yet those instructions also direct owners to seek assistance or service if their model uses LED lighting that stays dark when the door opens. Identify the light arrangement for your exact model before attempting a bulb change. A sealed LED module with wires and no removable bulb belongs on the service path.
Turn off cooling and disconnect power
Have the matched bulb ready. If the old light was recently on, let the bulb and the area around it cool before handling them.
For refrigerators covered by the linked owner instructions, turn cooling off or set the applicable control to OFF before disconnecting power. On the Setting control described there, hold Setting for four seconds until all the lights illuminate for one second. Neither compartment cools while that control is OFF, so restore cooling when you finish.
Open the cover your model uses
With power disconnected, follow your model’s cover release. For a clear lens with tabs, press the tabs; if it has small screws, remove them. Then gently tilt and pull off the cover. On refrigerators covered by the linked owner instructions, the bulb is behind the Temperature control: squeeze the shield at its sides and pull it straight down.
Once the cover is off, confirm that you can see the removable bulb described for your model. Keep the cover and any screws together so you can put every part back before restoring power.
Change the removable bulb
Handle glass bulbs carefully. If your replacement is incandescent, avoid touching its glass with your bare hands. Keep the refrigerator disconnected throughout the bulb change.
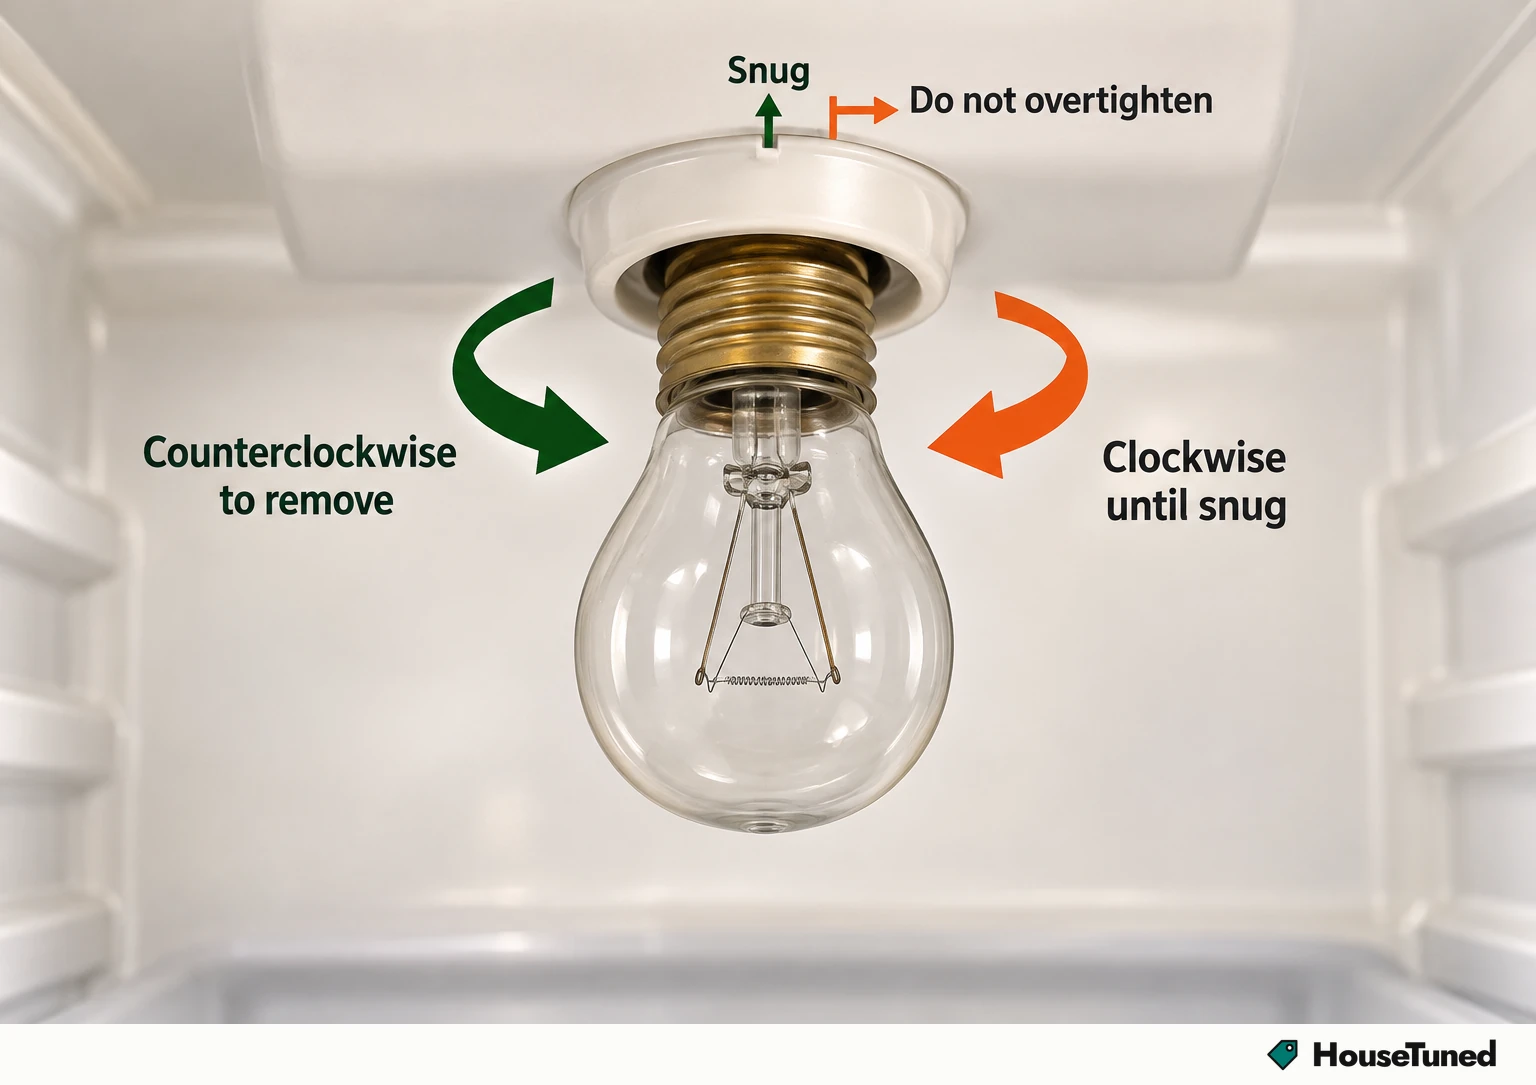
Turn the old screw-in bulb counterclockwise to remove it. Fit the model-matched appliance bulb by turning it clockwise until snug, without overtightening. On refrigerators covered by the linked owner instructions, replace the removable bulb with an appliance bulb of the same size and shape.
Put the shield back using its own fastening method. Align the tabs and snap a tabbed lens into place, or reinstall the screws on a screwed cover. Replace the squeeze-release shield on the refrigerators that use it. The bulb and cover should both be back in place before the refrigerator runs again.
Restore cooling and test the light
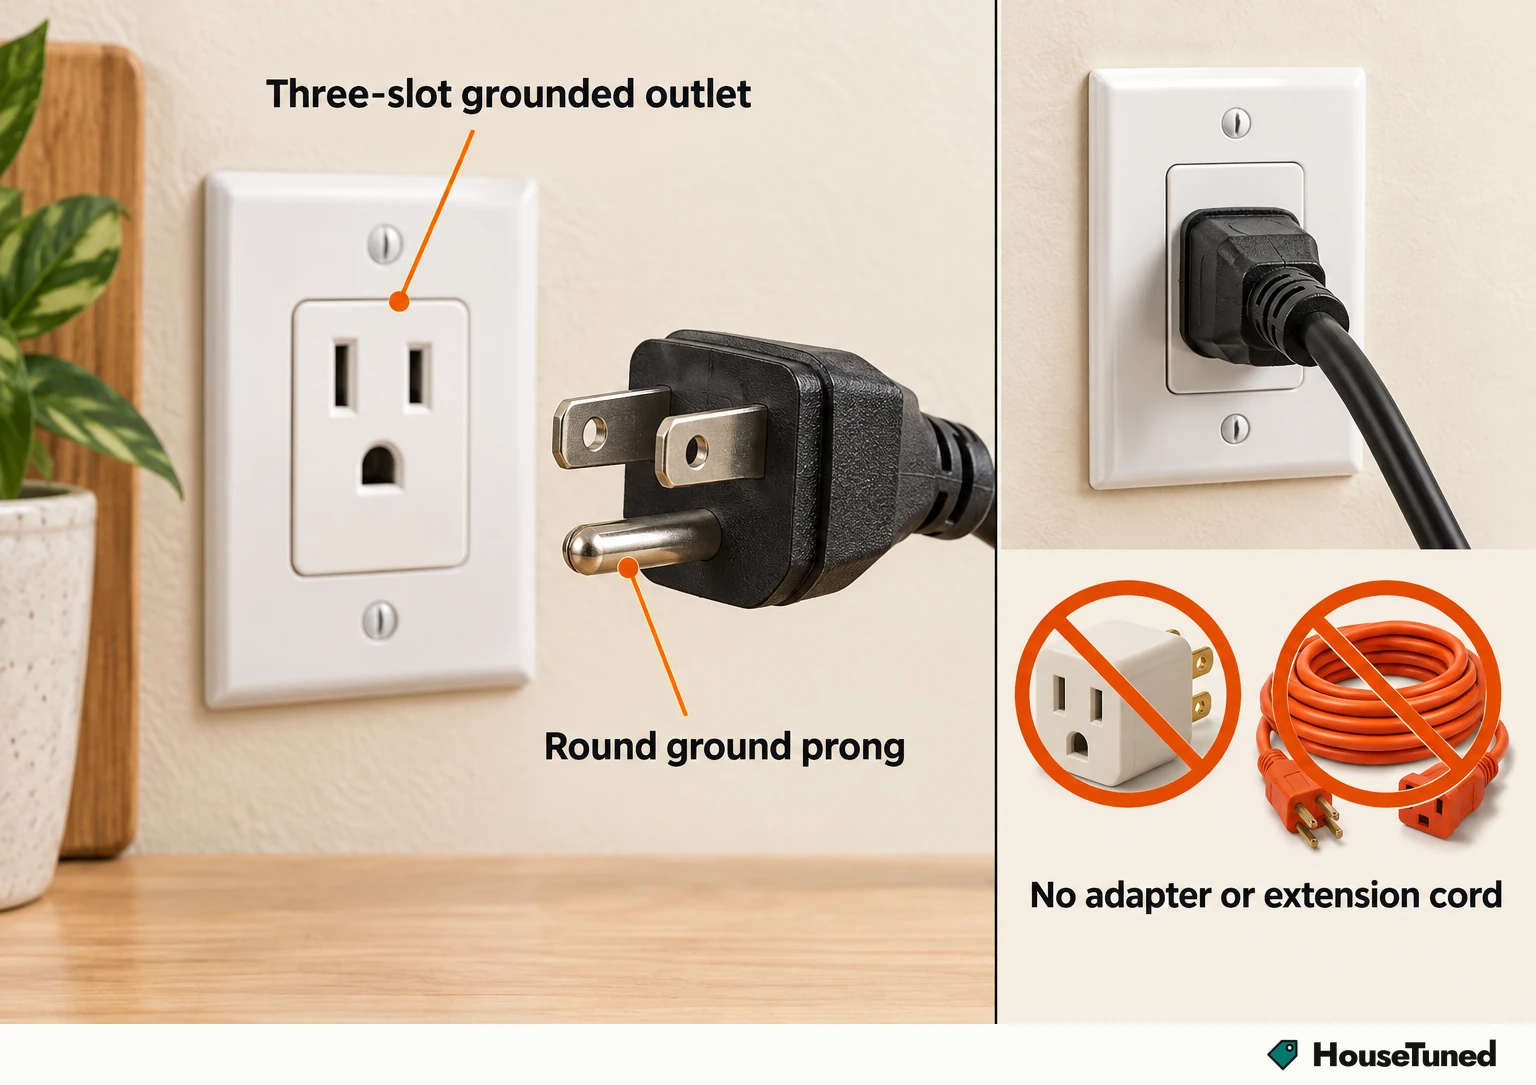
Reconnect the refrigerator to a grounded three-prong outlet. Keep the ground prong in place, and don’t use an adapter or extension cord. Turn cooling back on or return the applicable control to your desired setting. On the Setting control described earlier, hold Setting for four seconds to turn cooling back on.
Open the door and check for light. If it stays dark, check whether the new bulb is fully seated: disconnect power again, allow it to cool if needed, remove the cover and turn the bulb only until snug. Replace the cover, reconnect power, restore cooling and test again. If the correctly seated bulb still stays dark, contact an appliance repair expert.
If the light works and you’re also dealing with an ice maker that isn’t working, follow those checks for that separate problem. A slow water dispenser has its own checks too. With the shield back in place and cooling on, the light should come on when you open the door.
More in this category