Check what changed before buying a filter
- Check the filter's age and seating first. A clogged or incorrectly installed filter can slow the water.
- If trouble began after a filter change, use the temporary removal check and reinstall it correctly.
- If flow stays weak, check the supply valve, tubing and water pressure. Use the filter instructions and pressure test that apply to your refrigerator.
If your glass started filling more slowly right after a filter change, we'd check the installation before buying another filter, because a new filter can restrict flow when it isn't seated correctly. For a filter that's been in place longer, check its replacement date and indicator first.
The possibilities are a clogged or poorly installed filter, a kinked supply line and low water pressure. Work through the filter checks below, including flushing after installation, before moving to the supply line. This keeps the filter work together and gives you a useful result before inspecting behind the refrigerator.
If water has stopped altogether, follow the separate checks for a dispenser that won't dispense water.
Match the filter and instructions to your refrigerator
Look at when you last replaced the filter and whether its replacement indicator is on. Replace it every six months, when the indicator calls for it, or as needed. Water quality and usage can make an earlier replacement necessary, so a filter younger than six months can still need attention.
Choose the correct replacement for your refrigerator. Whirlpool recommends everydrop filters, but the specific filter still needs to match your refrigerator. A clogged filter can reduce delivery to both the water dispenser and ice maker.
Check your refrigerator's own installation instructions or owner's manual before removing the filter. The detailed ceiling-compartment procedure and numerical pressure test below apply only to refrigerators covered by this owner's manual (opens in a new tab), which places the filter on the right side of the refrigerator ceiling. Use your refrigerator's own removal and installation directions if it has a different arrangement.
Try dispensing with the filter temporarily removed
For a recently installed filter, temporarily remove it using your refrigerator's instructions and try dispensing water. If water dispenses with the filter removed, reinstall the filter correctly, making sure it locks in place and creates a proper seal. Poor installation can also cause leaks from the filter housing.
On the ceiling-compartment arrangement identified above, have a towel ready because water can remain inside the filter. Push up on the compartment door to release the catch, lower the door, then turn the filter counterclockwise and pull it straight out. Wipe up any spills.
For all dispensing checks on these refrigerators, close the refrigerator doors and freezer drawer. The dispensing system won't operate with either open. With the filter still removed, you can also perform the applicable timed pressure check before reinstalling it.
Select water, press a sturdy glass against the dispenser paddle, and time how long it takes to dispense one cup (237 mL). Remove the glass to stop dispensing. The digital display shows the dispensed amount while water is flowing and for three seconds afterward.
Eight seconds or less means the water pressure to the refrigerator meets the minimum requirement. Longer than eight seconds means the pressure is lower than recommended. Keep that result for the supply checks below, then reinstall the filter using the next steps.
Seat and lock the ceiling-mounted filter
For the same ceiling-compartment arrangement, put the filter back after your check or install the correct replacement if it's due. Getting it fully locked matters: water won't flow through the dispenser if the filter isn't correctly locked into its housing.
- For a new filter, remove its packaging and the cover over the O-rings. Check that the O-rings are still in place.
- Align the arrow on the filter label with the cutout notch in the housing, then insert the filter into the housing.
- Turn the filter clockwise 90 degrees, a quarter turn, until it locks into place.
- With the compartment door still open, lift the filter into the compartment, then close the door completely.
Continue with the flushing procedure below before judging the installed filter's flow. Skipping flushing can leave you with dripping or decreased water flow, even after the filter installation is complete.
Flush the air out after installation
On the covered refrigerators, flushing pushes air out of the water line and filter and prepares the filter for use. Use a sturdy container to collect the water. Expect possible spurting as the air clears.
- Press and hold the dispenser paddle for five seconds, collecting any water in the container.
- Release the paddle for five seconds. Repeat these five-seconds-on, five-seconds-off intervals until water begins to flow.
- Once water flows, continue the same intervals until you've dispensed a total of 3 gallons (12 L).
Some households need additional flushing. Air left in the lines can cause dripping after a new installation or filter replacement, so watch how the dispenser behaves as the air clears. If flow remains weak after the filter work, move to the water-supply checks.
Give the water line room behind the fridge
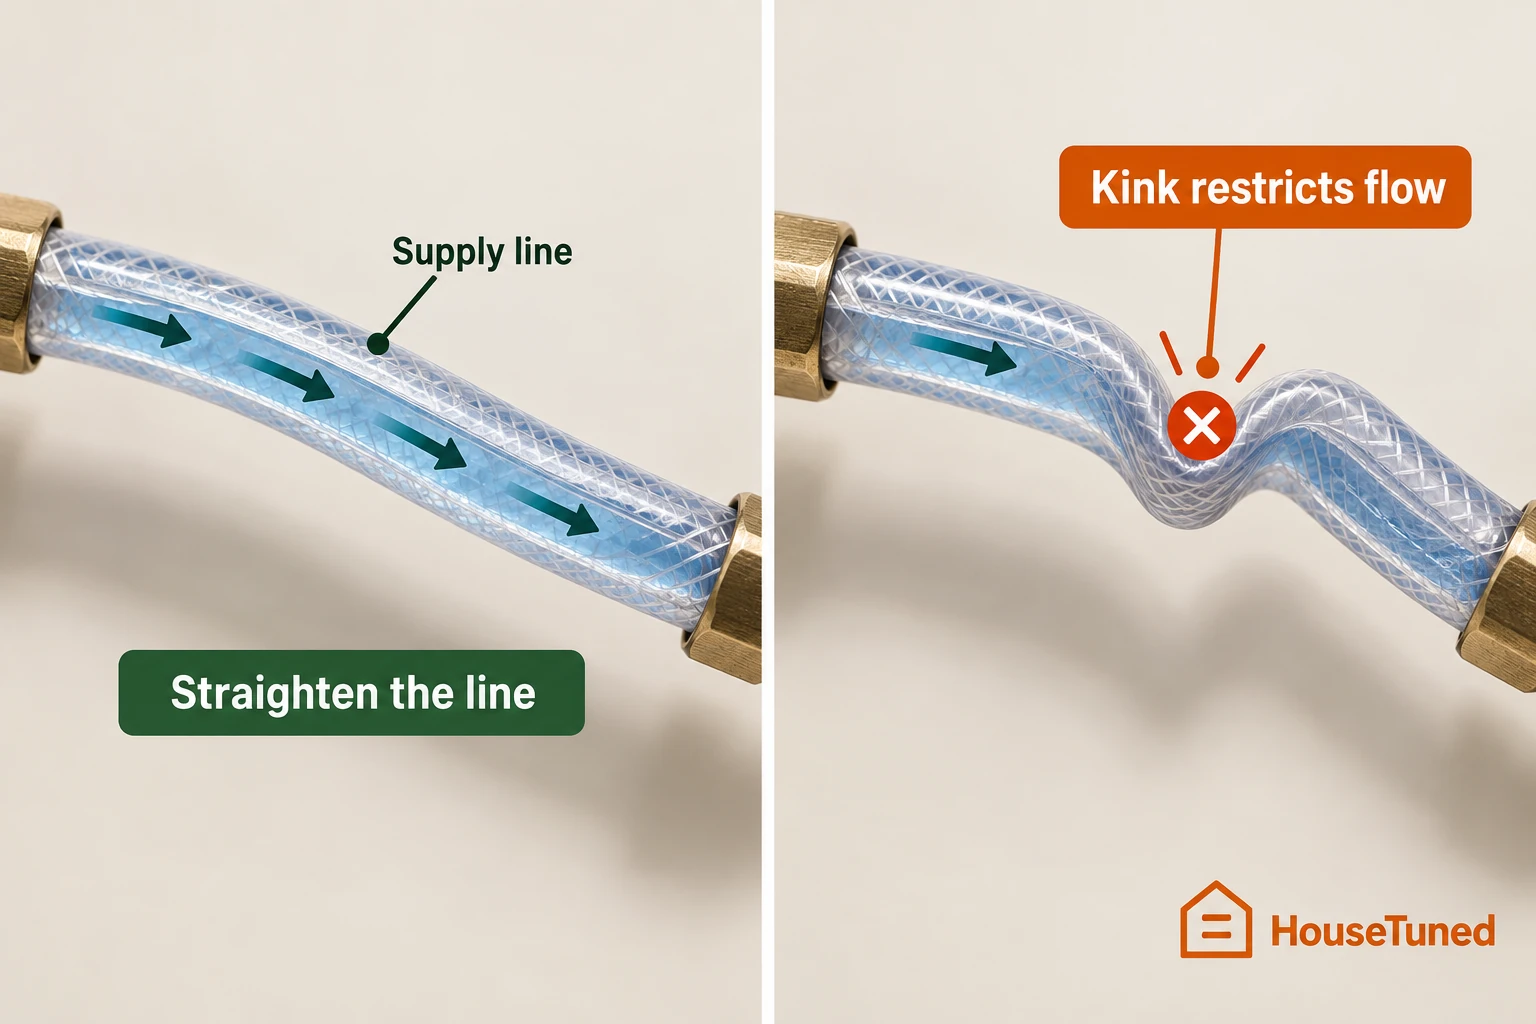
Unplug the refrigerator before locating and inspecting the water-supply line at the back. Follow the tubing connecting your home's water supply to the refrigerator and look for visible kinks, cracks or damage.
Check that the water line is securely connected and the supply valve is fully open. A kink can restrict delivery, and mineral buildup can obstruct flow, especially in hard-water areas. Keep this check to the accessible supply line and valve.
Straighten a kinked line to restore its flow path. When positioning the refrigerator afterward, don't push it so far back against the wall or cabinet that the tubing gets pinched again. Plug the refrigerator back in before trying the dispenser again.
Low pressure and restricted supply can affect ice production too. If you're also dealing with an empty ice bin, follow the separate checks for a Whirlpool ice maker that isn't working.
Make sense of a low-pressure result
For refrigerators covered by the linked manual, the cold-water supply requirement is 35–120 psi (241–827 kPa). The earlier timed test checks the minimum requirement with the filter removed. Keep that condition attached to your result when deciding whether pressure needs attention.
A refrigerator can work with a reverse osmosis system, but that system can further reduce water pressure. If your refrigerator uses an RO supply, include that connection when considering a low-pressure result.
For household pressure questions or a low-pressure result that remains after the supply checks, contact a licensed, qualified plumber. If slow dispensing remains unresolved after the applicable filter, flushing and supply checks, stop at these owner checks and use Whirlpool's service options (opens in a new tab).
Check the filter light and keep water fresh
On refrigerators covered by the linked manual, replacing the disposable filter automatically resets filter-status tracking. If REPLACE FILTER stays lit, check for a missing or incorrectly installed filter.
Allow three hours for these refrigerators to cool down and chill the water. During ongoing use, dispense at least one quart (1 L) every week to maintain a fresh water supply.
More in this category
Take a closer look
Why Isn't My Whirlpool Refrigerator Making Ice?
How to Fix a Whirlpool Refrigerator Ice Maker
Whirlpool Fridge Ice Maker Not Working
- Fridge Water Dispenser Not Working? What to Check First
- Refrigerator Freezer Leaking Water Inside? What to Check First
- Why Is My Whirlpool Dryer Not Getting Hot?
- What Does F21 Mean on Whirlpool and Maytag Washers?
- Whirlpool Dryer Error Codes
- Why Is My Samsung Refrigerator Temperature Blinking?
- How to Fix an Unbalanced Washer