Is the cold patch at the top?
- A cold top with warmth below points toward trapped air. Check that pattern before opening anything.
- Switch the heating off and let the radiator cool completely, then use a tool that matches its bleed valve.
- Release air slowly anticlockwise and close clockwise at steady water flow. Check pressure before restarting.
If your radiator warms only partway up, we'd check the temperature pattern first because a cold bottom can point to sludge instead of trapped air. Bleeding releases air that interferes with hot-water circulation, so the position of that cold patch helps you choose the right response.
Use this procedure for manual bleeding of hot-water heating radiators with an operable bleed valve. Some systems have automatic air vents that continuously release trapped air, so regular manual bleeding may not be necessary. If yours has automatic vents, follow the manufacturer's maintenance guidance.
Check warmth and listen before choosing a tool
Turn the heating on and allow the radiators to warm up before comparing them. Where a radiator has a thermostat, check that it's open, then identify which radiators remain cold or have cold areas. Be careful checking by touch because the surfaces may be hot.
A cooler upper section with a warm bottom is the useful clue for bleeding. Gurgling or bubbling while the heating runs, popping noises, and slower warming than usual can also accompany air buildup. Check all the radiators at this stage so you know which ones need attention.
Air can collect even without an obvious change to the heating system. Water releases dissolved gases as it heats and cools, and those bubbles rise to the radiator's top, where they interfere with circulation. In older systems, small leaks or maintenance can also let air enter.
A hot top with a cold bottom points toward a different possibility: sludge obstructing the water flow. Sludge can contain rust, debris and mineral deposits, and releasing air won't remove that buildup. Arrange an assessment by a heating professional for that pattern.
Let everything cool and catch the drips
Switch the central heating off at the boiler and wait until the radiators are completely cool. Keep it off while bleeding, because running the system can draw in more air while you're trying to release it.
Set up to catch water before you turn anything. Some water can escape along with the air, and it may spray as well as drip, so protect the surrounding area as well as the floor directly beneath the outlet.
- Wear protective gloves to guard against hot water.
- Keep the room well ventilated and children and pets away from the work area.
- Spread old towels around and beneath the radiator to protect the floor and nearby walls.
- Place a bowl or jug beneath the bleed valve, with a cloth ready to catch drips.
The valve decides which tool you need
Look near one end of the radiator along its top edge for the bleed valve. A key-operated fitting commonly looks like a small square pin. The tool goes into the bleed screw in that valve, with your cloth beneath the outlet.
Traditional radiator bleed valves typically need a radiator key, a tool made for opening them. If you've lost yours, you can buy a replacement at a hardware store. Choose the tool for the fitting in front of you before starting the air release.
A flat-head screwdriver is an option only for a compatible slotted bleed valve. Some modern radiators have that fitting, while certain radiator models require an Allen key instead. Having a screwdriver available doesn't change which tool your valve accepts.
Release the air and watch for steady water
Listen for the change from escaping air to approaching water. Hissing is the air leaving, while gurgling means water is getting close to the bleed valve. A steady stream is the closing cue used in the sequence below.
The opening amounts and closing cues differ between published recommendations. Worcester Bosch specifies steady water flow without a turn count; Bosch DIY specifies one or two anticlockwise turns and closure when you hear gurgling or see water. Armstrong Plumbing and Heating specifies about a quarter to half turn and closure when hissing stops and water begins to trickle.
We'd use the steady-flow cue here because it gives you a visible indication that the trapped air has escaped. Open slowly and watch the outlet as you listen, since some water can emerge while air is still leaving.
- With the cloth and container beneath the outlet, insert the compatible key or tool. Turn it slowly anticlockwise, also called counterclockwise, and listen for escaping air.
- Keep the valve open until water starts flowing steadily, then promptly turn clockwise to close it. Tighten enough to prevent leakage, but don't over-tighten: that can damage the valve. Water should stop escaping.
- Catch the remaining drips with the cloth and wipe away excess water. Check the closed valve for continuing leakage.
Check the outlet before moving on
Continued water flow after closure can indicate a problem with the valve itself. Water that keeps escaping needs a different response from the few remaining drips you're wiping away.
If air comes out but water doesn't follow, that points toward a system pressure issue. Move to the boiler pressure check for the next decision.
For several radiators needing bleeding, start with the one farthest from the boiler and work back toward it. That order helps keep air displaced from one radiator from simply moving into another. Complete the closure and leak check at each radiator before moving on.
Pressure comes before restarting
Read the boiler's pressure gauge after you've finished bleeding the affected radiators. Pressure can fall during bleeding, so compare the reading with the normal pressure specified for your boiler before restarting the heating.
Worcester Bosch advises topping up boiler pressure after bleeding. Bosch DIY makes adjustment conditional on the gauge reading and specifies normal pressure before restarting. Check the reading first, then use your boiler manufacturer's instructions to decide whether adjustment is needed.
Follow those manufacturer instructions for any pressure adjustment, or seek professional help if you're unsure. Once the pressure is normal for your boiler, turn the heating back on and let the treated radiators warm up for the final check.
Check that warmth reaches the whole radiator
Compare the treated radiators with the cold areas you found earlier. Check for warmth all over, including the upper section, rather than stopping the check as soon as the bottom gets warm. The result you're looking for is even heating from top to bottom.
If a radiator stays cold after bleeding, contact a heating professional for diagnosis. A blocked valve or sludge buildup can require attention beyond releasing trapped air.
During later use, regularly check for returning cold spots or unusual radiator noises. Keep an eye on system pressure through the year as well, using your boiler's specified normal pressure as the reference.
More in this category
Take a closer look
Honeywell Thermostat Not Working? What to Check First
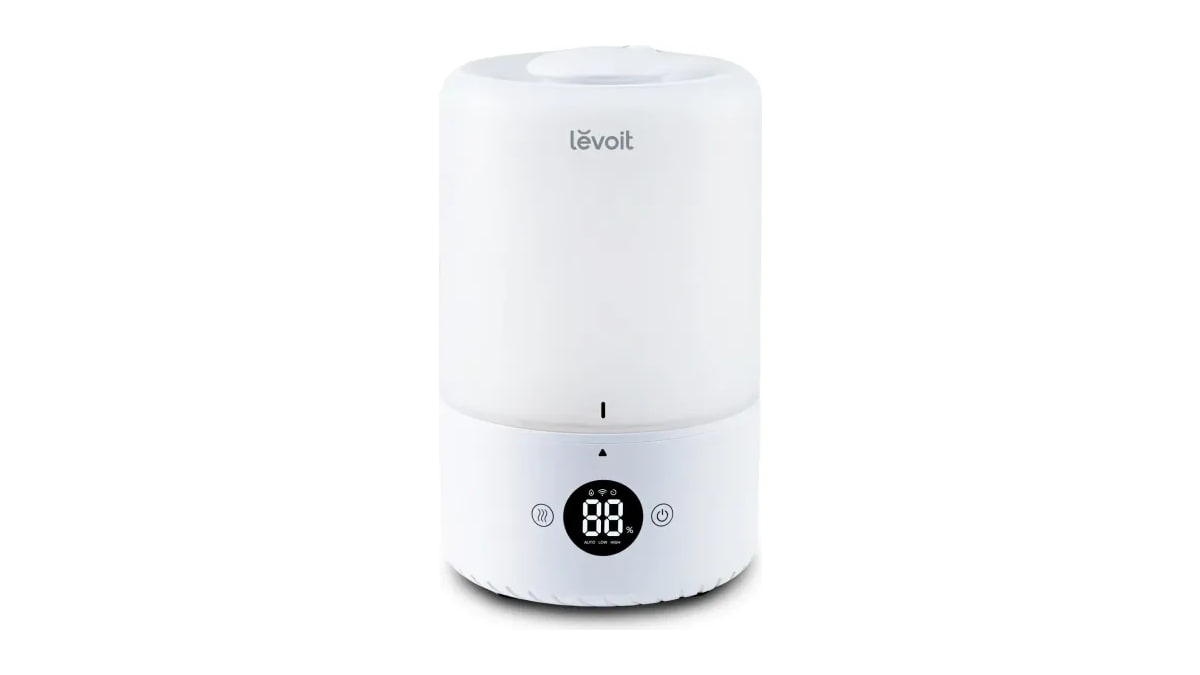
6 Humidifiers That You Can Refill From Above
Heat Pump Is Not Heating? What to Check Before You Call
- What Is a Swamp Cooler? How It Cools Dry Air
- How to Test for Radon and What Your Result Means
- Heat Pump vs Furnace and Which Fits Your Home and Climate
- Air Conditioner Maintenance and the Checks You Can Do Yourself
- How to Fix a Toilet Handle That Sticks or Goes Slack
- How to Clean Dryer Duct From the Trap to the Outside
- What Do Dryer Sheets Do? Softening, Static and What They Leave Behind