Check the settings before suspecting a part
- Check rinse aid and your cycle's drying option first. Both can affect how much water stays on dishes.
- If water collects in cups or bowls, check their angle and the space around them.
- Plastic items can stay wetter than the rest of the load, even when drying improves.
When clean plates still need a towel, we'd check rinse aid and the selected drying option before suspecting a part. Rinse aid helps remove remaining water, and some cycles use less heat or no heat, so those checks address two supported causes without starting a repair.
Work through settings, rinse aid and loading before checking heating performance. On machines where a heating element warms the wash water and drying air, a fault can affect both cleaning and drying. The Whirlpool example below uses completed-cycle results to help you decide when service is needed.
Give the cycle a drying option
Look up the drying choices in your owner's manual and select an available option intended to improve drying. Cycle names and drying instructions differ between manufacturers, so follow the instructions for your machine, including whether its heated drying cycle needs to finish entirely.
For a Whirlpool dishwasher, choose a cycle that includes heated drying and turn on Heated Dry or Extended Heat Dry if available. Sani Rinse or Sanitize raises the final rinse temperature, which can also help. Whirlpool's Eco or Quick cycles may reduce heat and drying time, leaving a less thoroughly dried load.
Where your Whirlpool offers Heat or Pro Dry and Extended Dry, Heat or Pro Dry is the default described for smaller loads. If that leaves the load wetter than you'd like, select Extended Dry. Whirlpool describes it as suited to large loads and says it adds 15 minutes of drying time.
Check those labels against your own controls before choosing. Whirlpool's drying-option guidance (opens in a new tab) directs you to your user manual for cycle details, and its model-number resources can help you locate the right instructions.
Give trapped water a way out
Leave space between dishes instead of crowding the racks. Angle items downward where possible so water can run off and hot air can reach their surfaces. A heated drying selection still leaves loading worth checking when you find puddles after the cycle.
Pay particular attention to the recessed bottoms of glasses, cups and bowls. They can hold more water than the drying cycle can evaporate. Unload the bottom rack first so water retained on items above doesn't spill onto dishes that were already dry.
In the Whirlpool example, avoid nesting bowls or stacking items that block airflow. Put glasses between the upper rack's wire tines instead of over them, because the tines can leave water spots. Use the tines to tilt flat or concave surfaces so water drains away.
For Whirlpool plastic items, don't use the lower rack. Top-rack placement makes deformation less likely, and the items should be angled to drain. If your machine has a third-level rack, Whirlpool recommends it for plastic cups, bowls and mugs (opens in a new tab) to improve drying.
Some items will still need a towel
A plastic container can remain wet while other dishes dry because plastic conducts heat less well. Rinse aid can help with that drying challenge. Its usefulness isn't limited to avoiding spots: it also helps water leave the dishes during drying.
Whirlpool also identifies plastic and nonstick items as difficult to dry because they can collect droplets. Those items may still need towel drying. When you assess the next load, distinguish droplets on those surfaces from puddles held in a bowl's recessed base, which call for attention to loading.
A drying option's name matters, too. Whirlpool's general guidance describes some Air Dry and Fan Dry settings as using no heat and potentially drying less thoroughly. Judge the result against the option you actually selected, along with the materials and shapes in the load.
Whirlpool example for filling and adjusting rinse aid
On a Whirlpool dishwasher, rinse aid helps water sheet off dishes and speeds evaporation. It also helps prevent droplets from drying into spots or streaks. Check both the amount left in the dispenser and its dosage setting, since that setting needs to suit your water conditions.
Open the dispenser cap and fill until the indicator shows full. For the indicator described in Whirlpool's drying-performance guidance (opens in a new tab), check with the dishwasher door fully open and level. An empty indicator appears clear, while the filled indicator's color depends on the rinse aid.
If dishes remain wet or show spots, raise the dosage one level. Higher numbers dispense more rinse aid, but change the setting only a little at a time and run a few cycles before changing it again. Just enough rinse aid works better than too much.
The factory setting gives good results for most water conditions; hard water, rings or spots can justify a higher setting. On the dispenser with an arrow adjuster, turn the arrow with your fingers or a flat-blade screwdriver inserted into its center. Assess the dishes after those cycles before making another small adjustment.
Whirlpool example for the hot-water supply
Before starting your Whirlpool, run the kitchen sink's hot tap for 30–60 seconds so the dishwasher gets hot water from its first fill. Whirlpool's pre-cycle guidance (opens in a new tab) describes the ideal incoming temperature at the tap as about 120°F (49°C).
Whirlpool's drying-performance guidance gives a more specific supply requirement: the dishwasher needs a hot-water connection even though it has its own water-heating feature. That guidance calls for a minimum supply temperature of 120°F (49°C) for best washing and drying performance.
Bosch example for choosing a drying option
For a Bosch dishwasher, begin with space between dishware and cutlery so water can drain off. Add rinse aid using your owner's manual to identify where and how to fill it. Bosch explains that rinse aid helps droplets slide off dishware, improving drying.
Then select Sanitize or Extra Dry if your model offers those options. Bosch's US drying guidance (opens in a new tab) specifically asks you to confirm availability in your owner's manual. That gives you a Bosch-specific option check alongside the loading and rinse-aid checks.
Whirlpool example for checking heating after a cycle
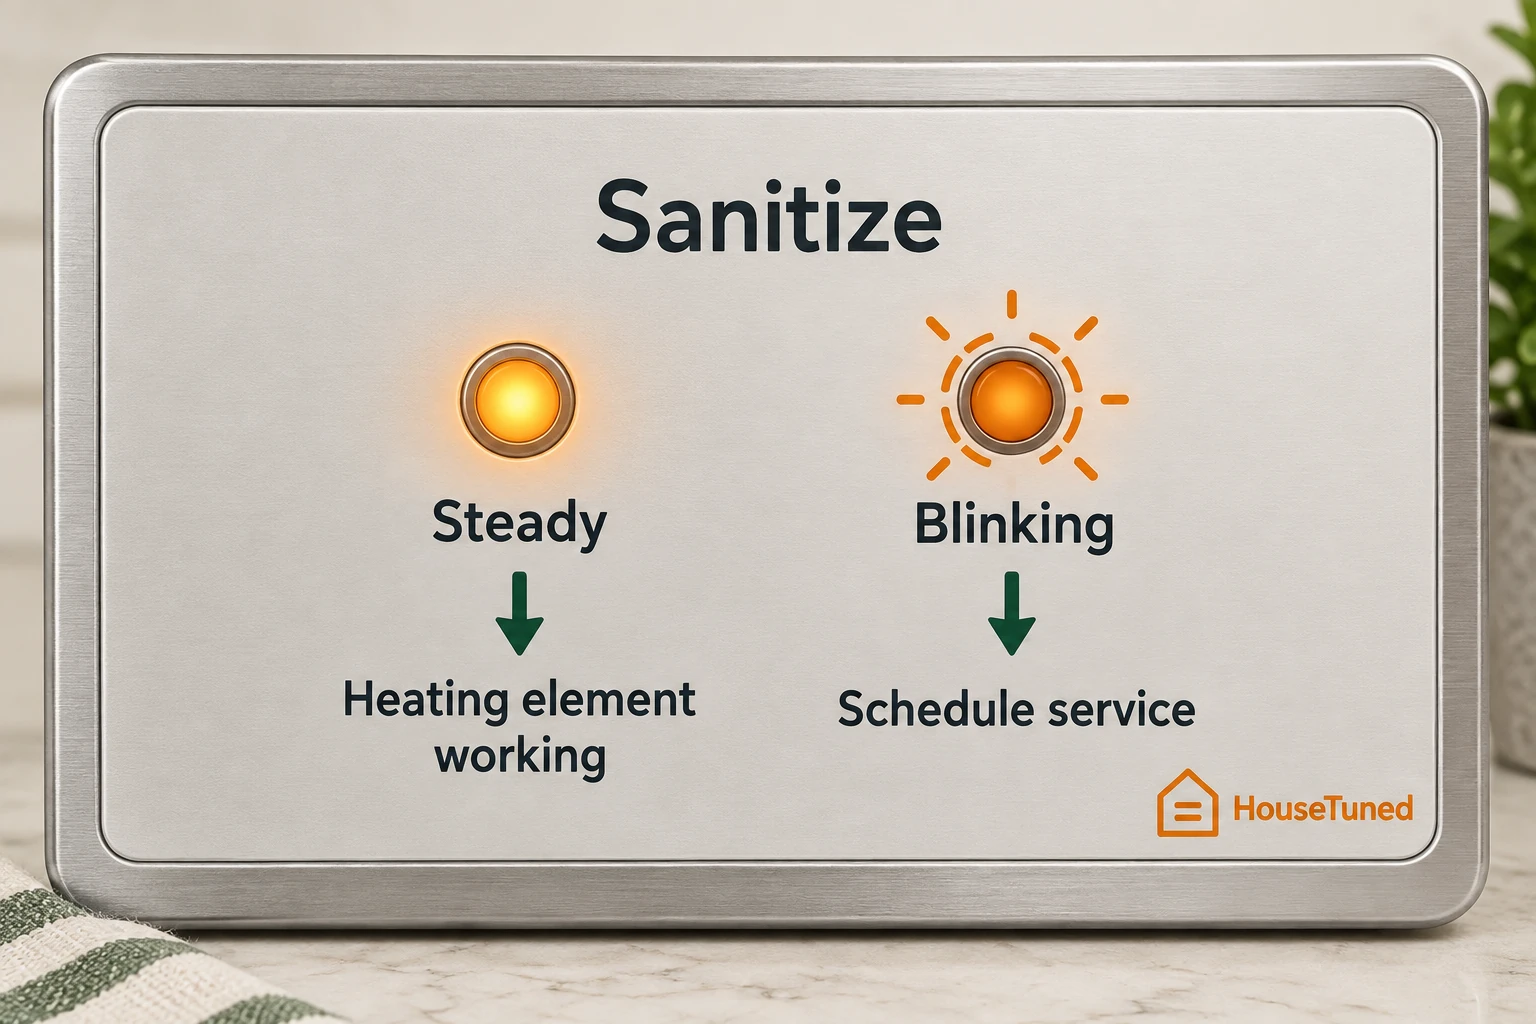
If your Whirlpool has Sanitize, run a cycle with that option selected and wait until the cycle has completed. Check the Sanitize indicator then. Whirlpool says a steady light means the dishwasher reached its maximum temperature and its heating element is working properly.
A blinking Sanitize light indicates a possible heating-element problem, and Whirlpool directs you to schedule service. Its general drying guidance also identifies a Sanitize light that doesn't light up as a possible heating problem that may need a service appointment.
If your Whirlpool doesn't have Sanitize but offers 1-hour wash and Heat Dry, use that alternative check. Run 1-hour wash with Heat Dry selected, which Whirlpool says takes about 1.5 hours in total. Once it finishes, check whether the dishes are warm.
Dishes that aren't warm after that completed test call for service because the heating element may have a problem. Whirlpool's completed-cycle checks (opens in a new tab) use that warmth result or the Sanitize indicator; a successful Sanitize result points you back toward rinse aid and loading for drying improvements.
When to bring in an appliance technician
For a Whirlpool showing error codes or no heat, contact product support to arrange service. Whirlpool's support guidance (opens in a new tab) lists the information to have ready so the conversation starts with your machine and its symptoms.
Find the model and serial number on the door frame. Write down what stayed wet, the cycle and options used, any error codes and your tap-water temperature if you already know it. If you ran the applicable heating check, describe its indicator or dish-warmth result when you call.
More in this category